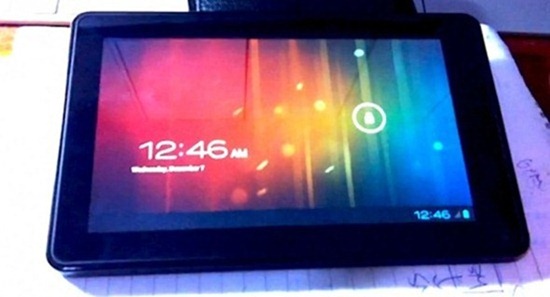
DISCLAIMER: SanjeevRules will not be held responsible if you lose data or your device gets damaged in the following of this guide. Proceed at your own risk.
Before you continue, you will need to meet a few pre-requisites. Firstly, your Kindle Fire must be rooted. Secondly, you must install TWRP 2.0 – a touch-based custom recovery for the Kindle Fire. Lastly, and most importantly, please understand that this is a very buggy and unstable build. It is not at all ready for daily use; stay away from it unless you’re a developer who knows how to fix these bugs or understand the risks involved and know how to bring your device back to normal operating condition if something goes wrong.
Step 1: Download Android 4.0.3 ICS Experimental Build [MediaFire]. Transfer it to the root of your Kindle Fire’s internal storage so you can flash it later.
Step 2: Shut down your Kindle Fire. Once it is completely turned off, tap the power button to turn it on. When you see the yellow triangle on the display, press and hold power button until you boot into TWRP.
Step 3: Take a backup from the backups section on TWRP. This will come handy later on if you wish to revert back to your current state.
Step 4: Wipe out everything from TWRP i.e. data factory reset, wipe cache and wipe Dalvik cache.
Step 5: Tap Install and select the file you transferred to your Kindle Fire in Step 1. Once selected, tap flash.
Step 6: From the main menu, tap reboot system.

0 comments:
Post a Comment